Korean Kimchi Fried Rice with Egg
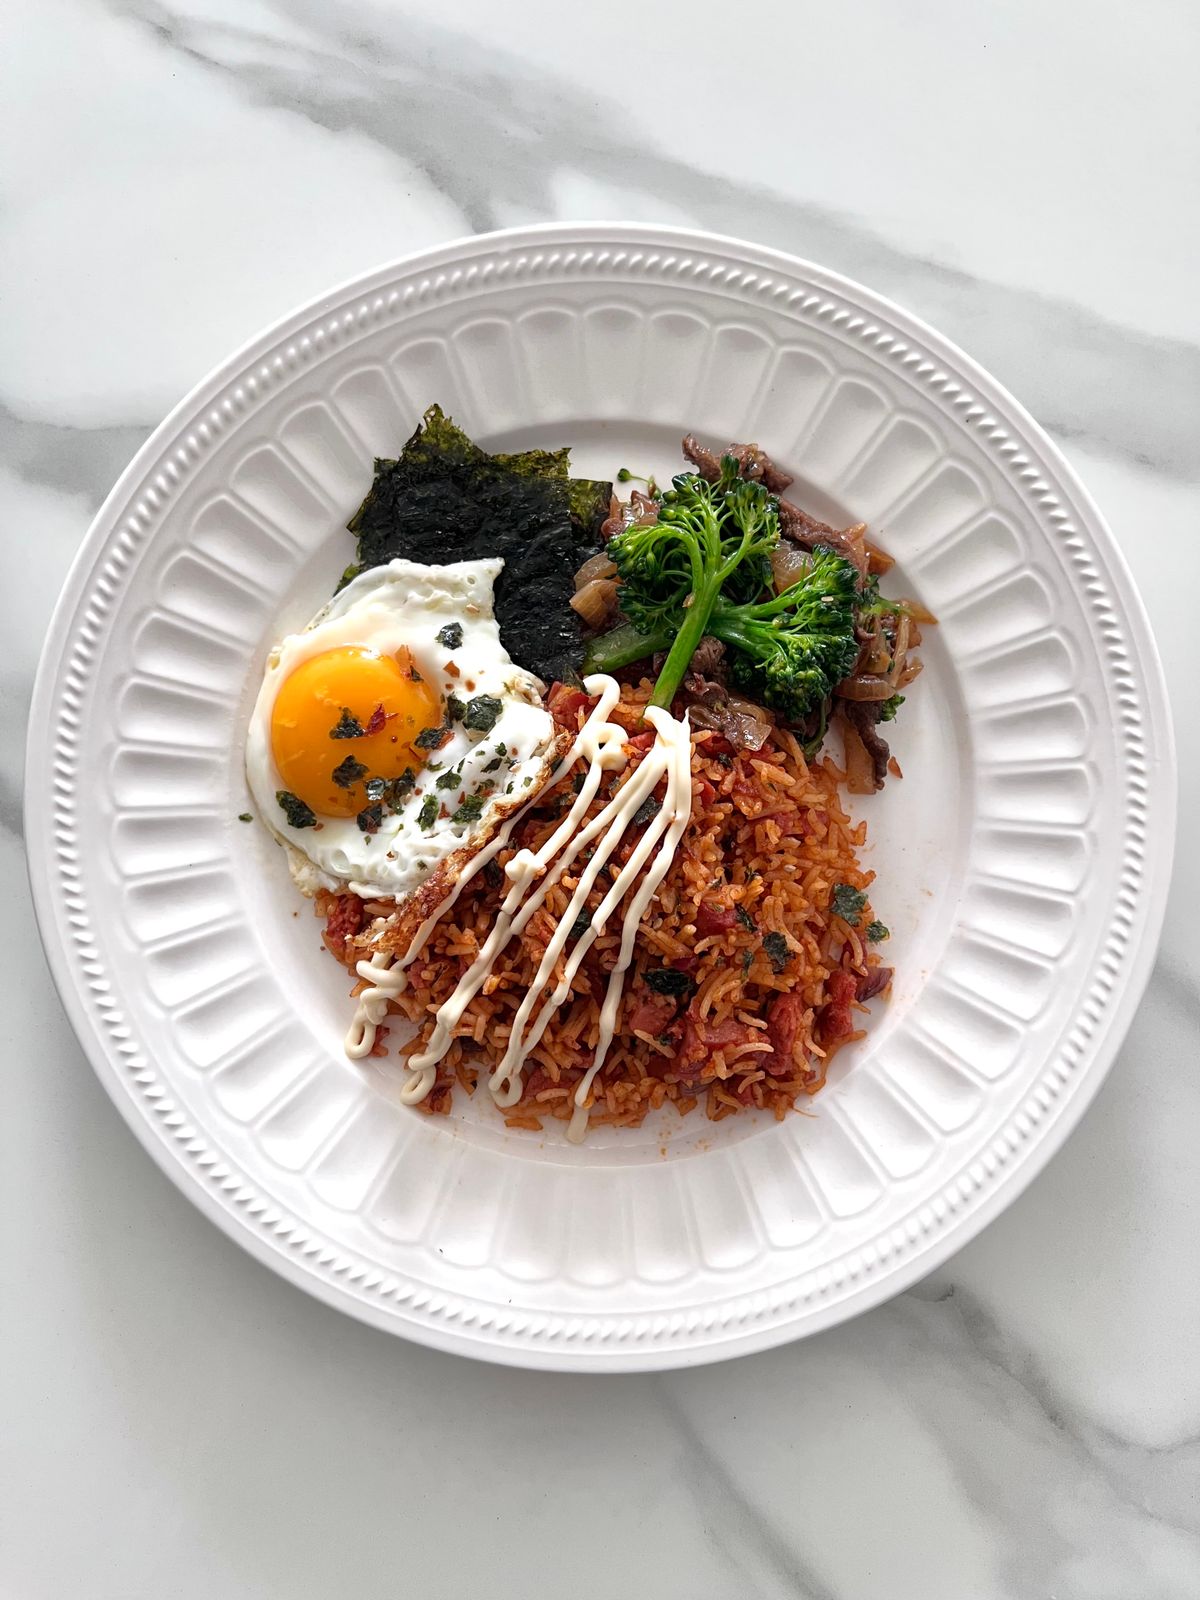
Quick Korean kimchi bokkeumbap made with properly chilled cooked rice and fermented kimchi, finished with sesame oil and fully cooked fried eggs.
🍽️ Original recipe: 4 servingsThe original quantities and written steps are for 4 servings. Changing the number scales only the ingredient checklist, not method or cooking times. Cook larger batches in appropriate pans.
Jump to ingredients · Jump to method
Cooking times vary with equipment and ingredient size; look for the stated texture and doneness cues.
🛒 Ingredients checklist
👩🍳 Step-by-step method
Check refrigerated rice was cooled promptly
Use 650 g cooked rice that was cooled rapidly after cooking and kept at 5°C or below, not rice left sitting warm overnight. Break the cold rice into loose clumps with a clean spoon before frying, keeping it refrigerated until needed.
Prepare fermented kimchi and vegetables
Finely chop 350 g sour fermented kimchi and measure 55 ml kimchi juice separately. Dice 130 g onion and 110 g carrot, slice 65 g spring onion and crumble 8 g roasted nori. Check kimchi product labels for fish or shellfish if serving anyone with allergies.
Fry eggs completely and keep warm
Heat 10 ml of the measured 35 ml oil in a non-stick frying pan over medium-low heat. Crack four eggs in two batches and fry for 3–5 minutes until egg whites and yolks are fully set; cover briefly to cook the surface if needed. Move to a clean plate.
Sauté onion, carrot and sour kimchi well
Warm the remaining 25 ml oil in a broad wok over medium-high heat. Add onion and carrot for about 3 minutes, then 350 g chopped kimchi for another 4–5 minutes until softened and deeper in colour. Stir regularly so the chilli residue does not catch on the hot pan.
Mix paste and rice with controlled moisture
Add 25 g gochujang, 20 ml soy sauce and 55 ml kimchi juice to the kimchi and stir briefly. Add all 650 g chilled rice and work with a wooden spatula for 3–4 minutes until clumps separate and every grain takes on an even red-orange coating.
Finish frying until hot throughout
Increase the heat for one or two minutes so the rice becomes hot throughout and a few grains crisp lightly on the bottom without burning. Turn off the heat, stir through 15 ml toasted sesame oil and sliced spring onion, then taste with a clean spoon before deciding if extra seasoning is necessary.
Plate with eggs and nori, refrigerate leftovers
Divide fried rice into four clean bowls, top each with a fully cooked fried egg and distribute the 8 g crumbled nori and 15 g toasted sesame seeds. Serve immediately; refrigerate any extra rice promptly at 5°C or colder and do not leave it warm on the stove.
Helpful cooking tips and swaps
Sauté sour kimchi before adding rice; safely chilled rice is important because cooked rice can carry Bacillus cereus risks.
🌡️ Food safety and allergens
Contains egg and sesame; sauces may contain soy and wheat, and kimchi may contain fish or shellfish.
Cooked rice should be rapidly cooled to reduce Bacillus cereus risk. Refrigerate extra fried rice promptly at 5°C or below and use within 1–2 days.
Practical FAQs
Can I make a bigger batch?
Yes. Use the ingredient scaler but adjust the number of pans or batches. Cooking time does not automatically scale with quantity.
How should leftovers be stored?
Cooked rice should be rapidly cooled to reduce Bacillus cereus risk. Refrigerate extra fried rice promptly at 5°C or below and use within 1–2 days.
Food safety source: Food Standards Australia New Zealand